|
repair procedure: VCR! |
|
|
Who DOESN'T have a broken VCR in their closet these days? Don't be intimidated- sure it's sophisticated, but it was made by people, so it can be understood by people. Pull it apart slowly & thoughtfully, and often times the problem will make itself obvious as you work. Here we will take a look inside an older Sony BetaMax machine. The major problem with this machine, is that it's hard to find tapes that will fit into it. |
|
|
|
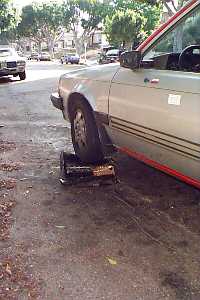
Regular readers know I always stress the importance of positioning your work, and keeping a clean workspace. Here we are using Mazdalicious to hold the VCR firmly. The street was just cleaned a couple days ago, so we should be OK. |
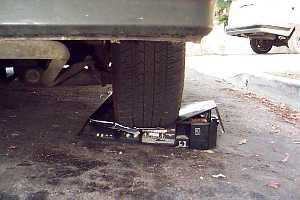
| The transport mechanism can be tested at this point. Do a mild burnout on the VCR, and see how far it is transported. If it's working OK, it should launch all the way across the street. Adjust throttle and clutch-dumping action until transoprt is within acceptable limits. |
|
|
|
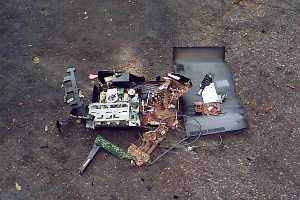
Be sure to keep track of all the components, so reassembly will go smoothly. |
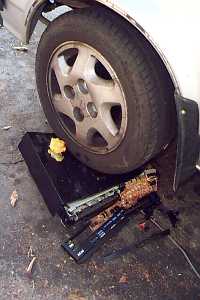
| With the case peeled off by the transport test, you can align the heads. This is ususally done with an oscilloscope but if you don't have one, just use logger boots. Not those cheap Chinese imports- you need a quality boot for this procedure. Stomp the head assembly repeatedly unitl the surrounding metalwork bends out of the way. Perfect! | 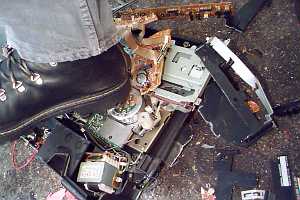 |
| All that's left is to reassemble this newly-tamed beast, and enjoy our handiwork. I'm getting a roll of duct-tape, and my attorney is looking for a place that still rents Beta tapes. Should be watching a movie in no time... | |